Selector Single Sign On
Overview
Single Sign-On (SSO) is an authentication scheme that allows a user to log in with a single set of credentials to any of several related, yet independent, software systems.
SSO is critical for enterprise security and user experience. It centralizes identity management, allows for automated onboarding/offboarding via a central Identity Provider (IdP), and eliminates “password fatigue” by allowing users to access S2AP using their existing corporate credentials.
Selector’s SSO allows customers to integrate the user roles defined in their IdP with S2AP roles to provide right sized access to their users.
SSO Integration Setup
Selector supports SSO configuration in S2AP UI and API. Selector customers who wish to set up SSO for S2AP login and access need to follow the following steps in their S2AP portal.
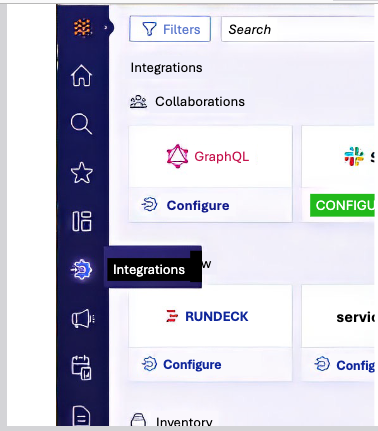
First, go to Integrations on the left hand side panel, and select Identity provider.
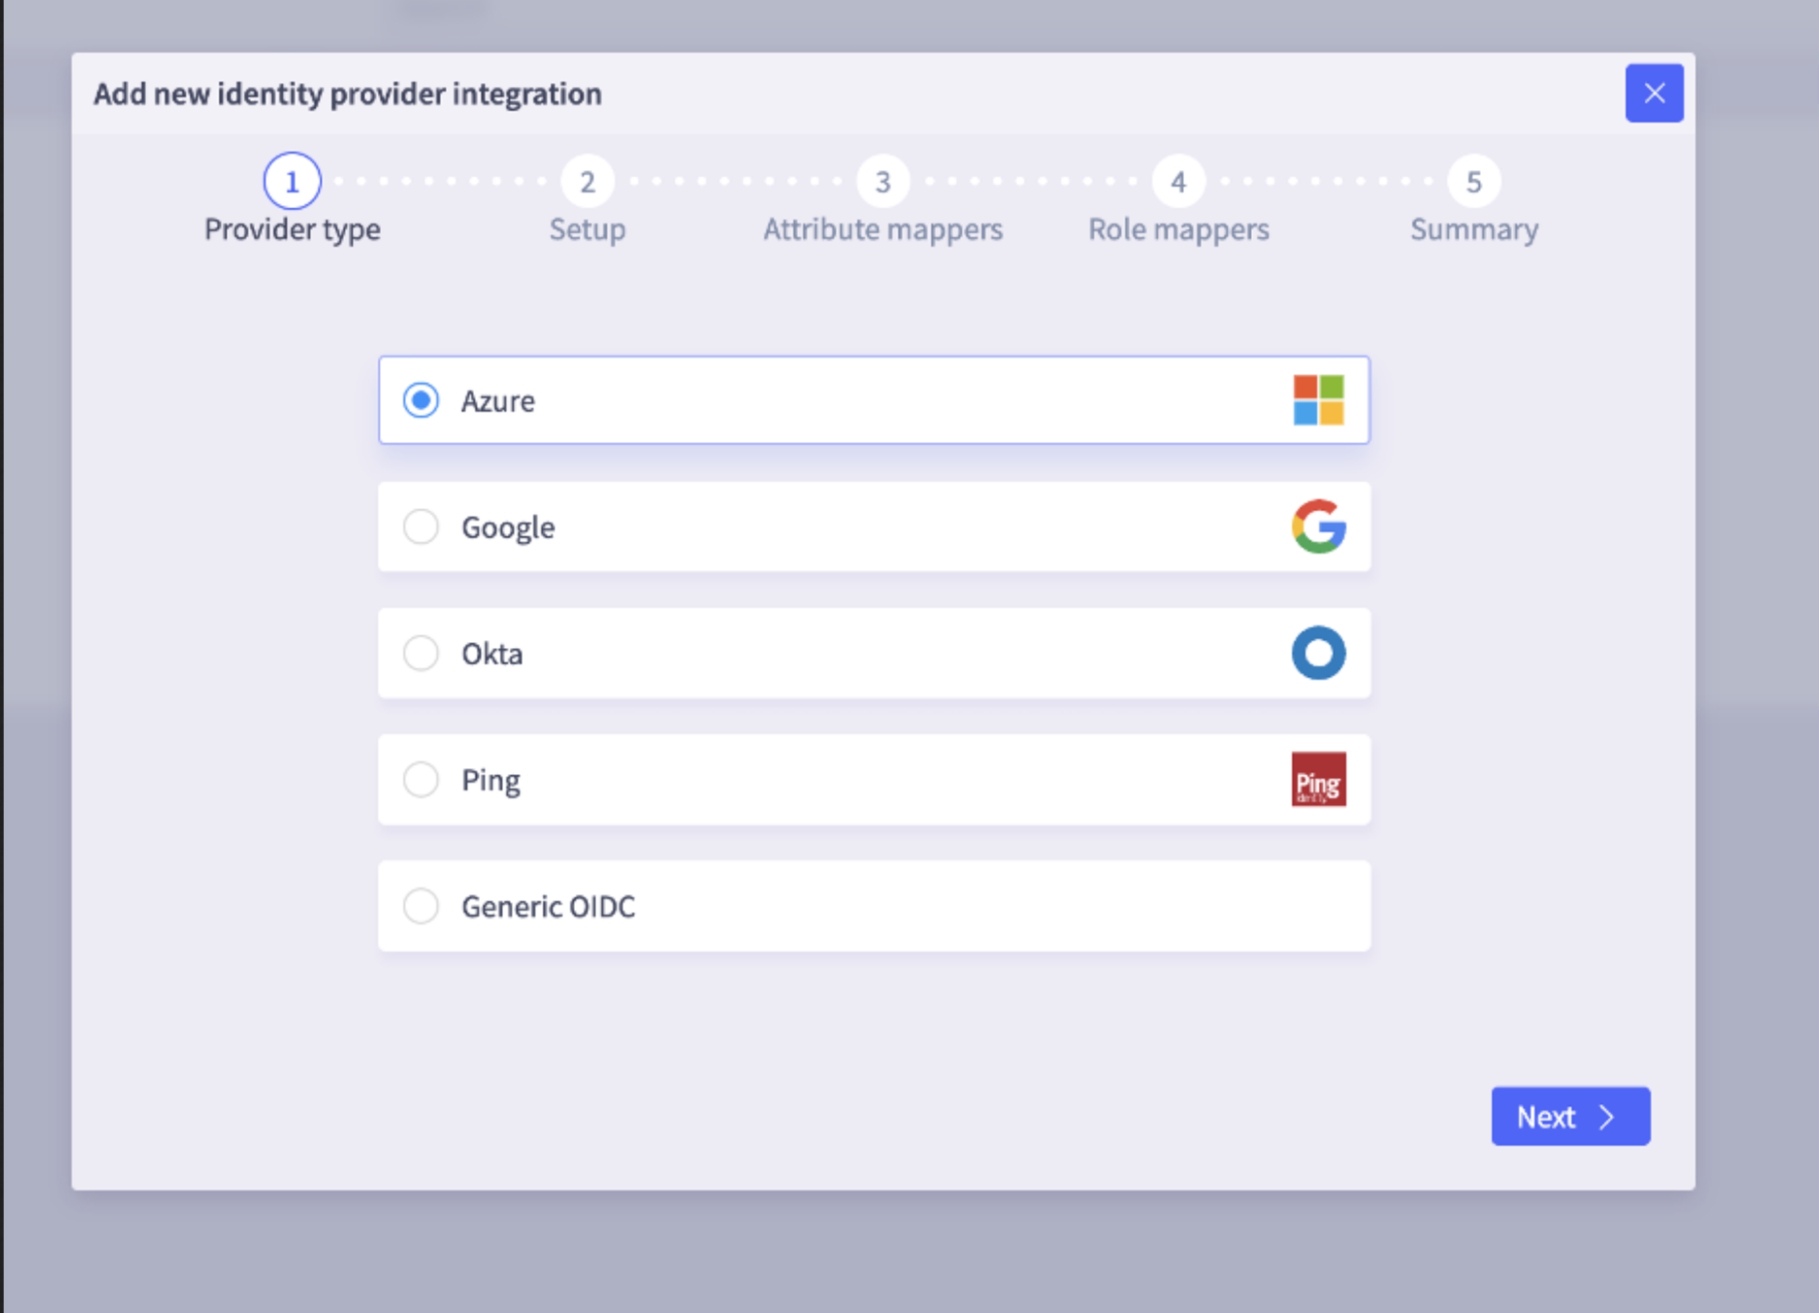
SSO Provider Type
Next, select Provider Type from the identity provider list. Selector supports several types of SSO, including popular providers such as Okta, Google, Microsoft Entra, and Ping. Selector SSO works with any vendor that supports the generic OpenID Connect (OIDC) standard with JSON Web Tokens (JWT).
SSO Setup
In the Setup window, customers need to provide three OIDC metadata items to set up an SSO OIDC integration.
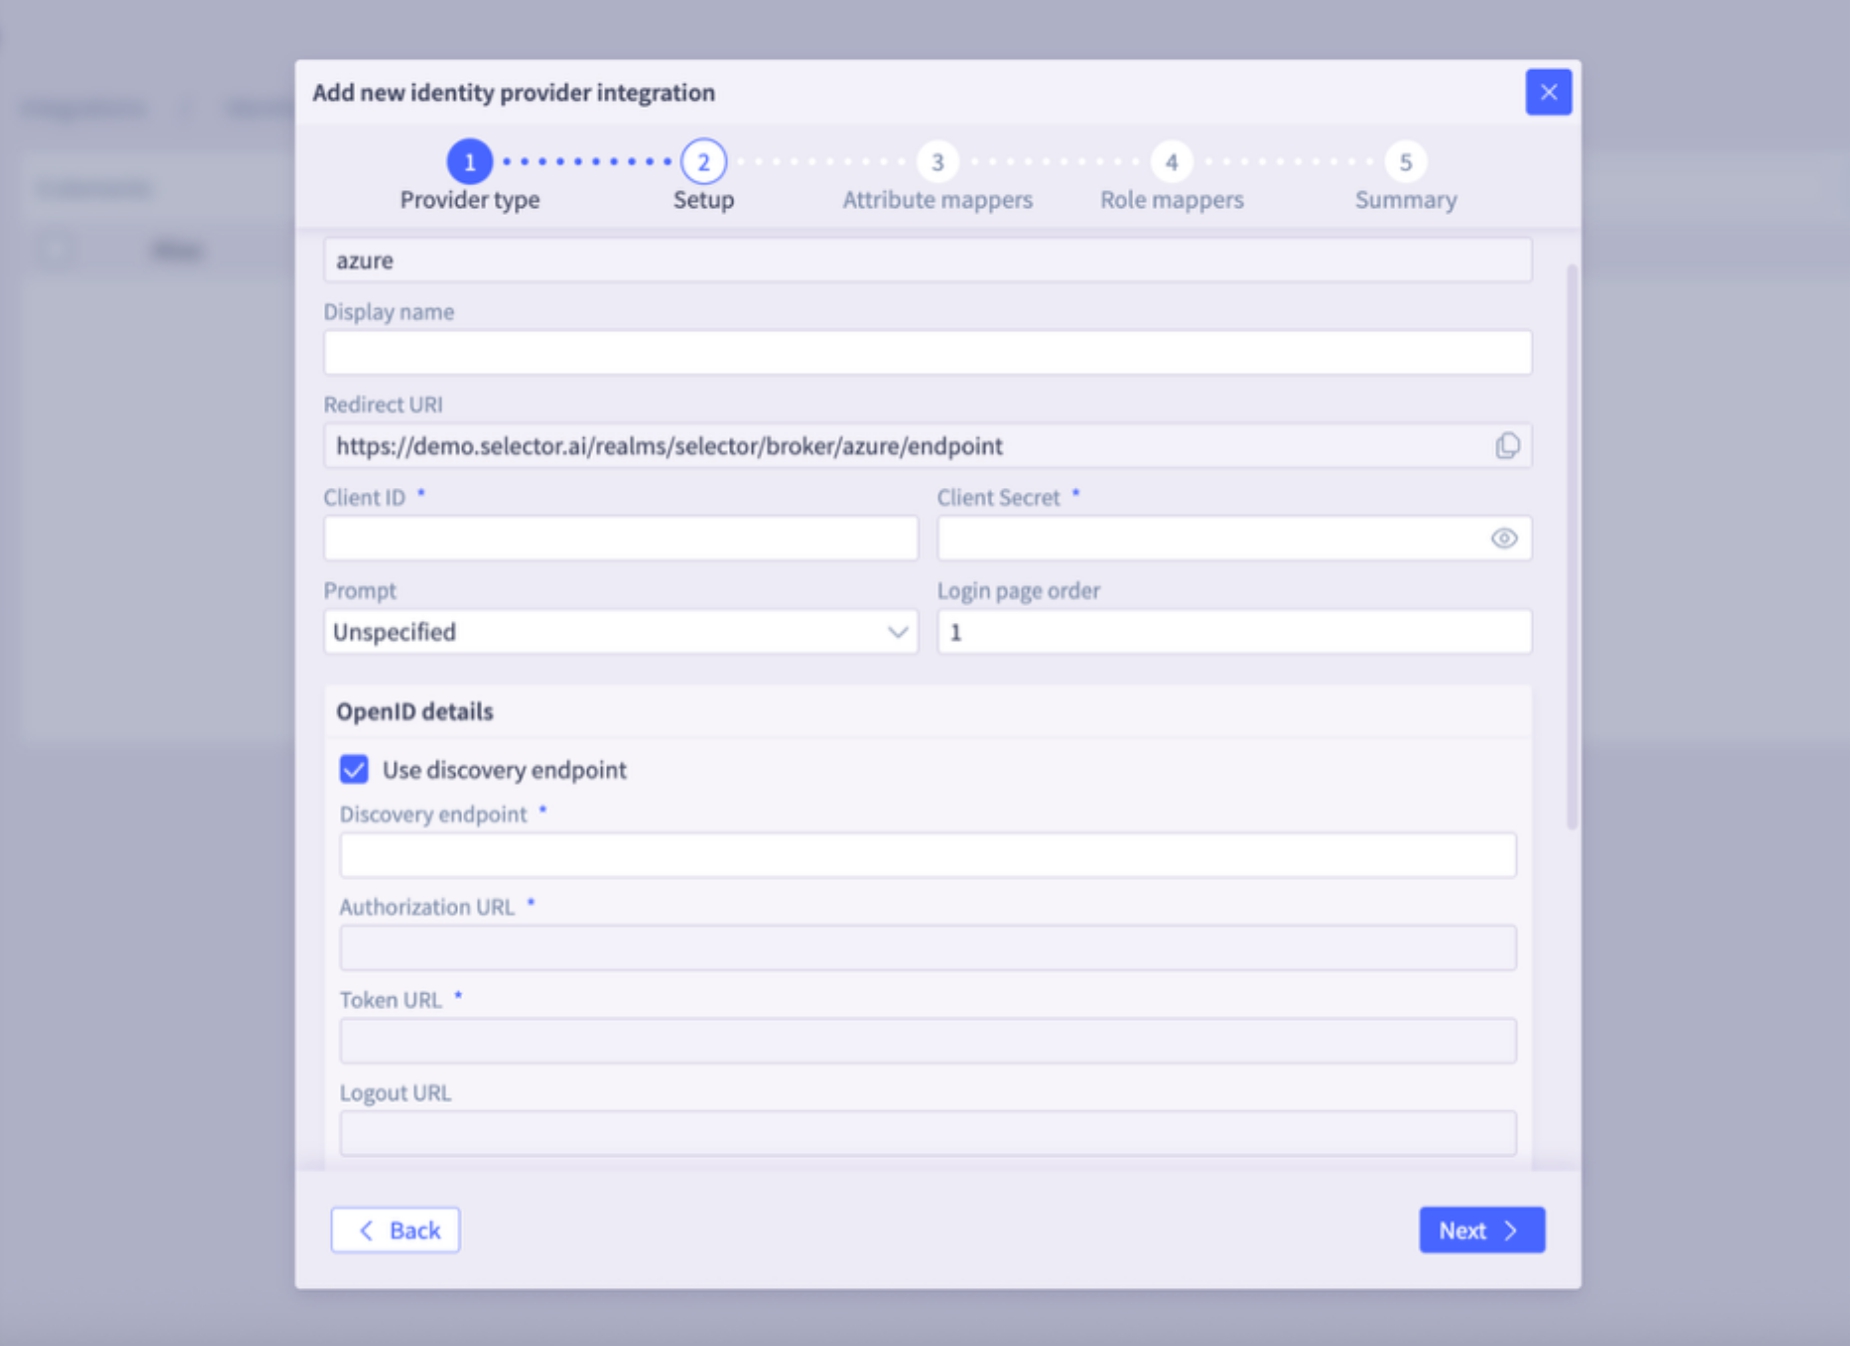
- Client ID: A unique, public identifier for the S2AP application within your Identity Provider. This ID tells the IdP which application is requesting the login.
- Client Secret: A confidential “password” known only to S2AP and the IdP. The secret is used to verify the application’s identity when exchanging authentication codes for tokens.
- Discovery URL or Manual Endpoint Setup:
- The Discovery URL is the URL the client uses to discover OAuth 2.0 endpoints and configuration information. This is typically the Issuer URL with the phrase “.well-known/openid-configuration” appended.
- if the “Use discovery endpoint” option is selected, then S2AP can usually derive the discovery URL based on the OIDC provider and authentication information.
- For example, Microsoft calls this endpoint the OpenID Connect metadata document:
https://login.microsoftonline.com/.../v2.0/.well-known/openid-configuration
- The Discovery URL is the URL the client uses to discover OAuth 2.0 endpoints and configuration information. This is typically the Issuer URL with the phrase “.well-known/openid-configuration” appended.
The Redirect URI is provided to the Customer by Selector. After successful authentication, this URI forms the specific URL where the user is sent by the IdP. This redirect is automatically generated by the S2AP backend using Keycloak and is presented as a read-only field in the GUI.
There are also several security options. The Proof Key for Code Exchange (PKCE) is an extension to OIDC that prevents authorization code interception attacks. PKCE adds an extra layer of security by requiring a dynamically generated “secret” for every login attempt. Customers can select that option if they use PKCE security for SSO.
SSO Attribute Mappers
The Attribute Mappers window allows mapping of attributes like firstName, lastName, username, email, or other custom attributes that are found in the id_token claim. For Azure and Google, this step is often unnecessary because predefined mappers are added.
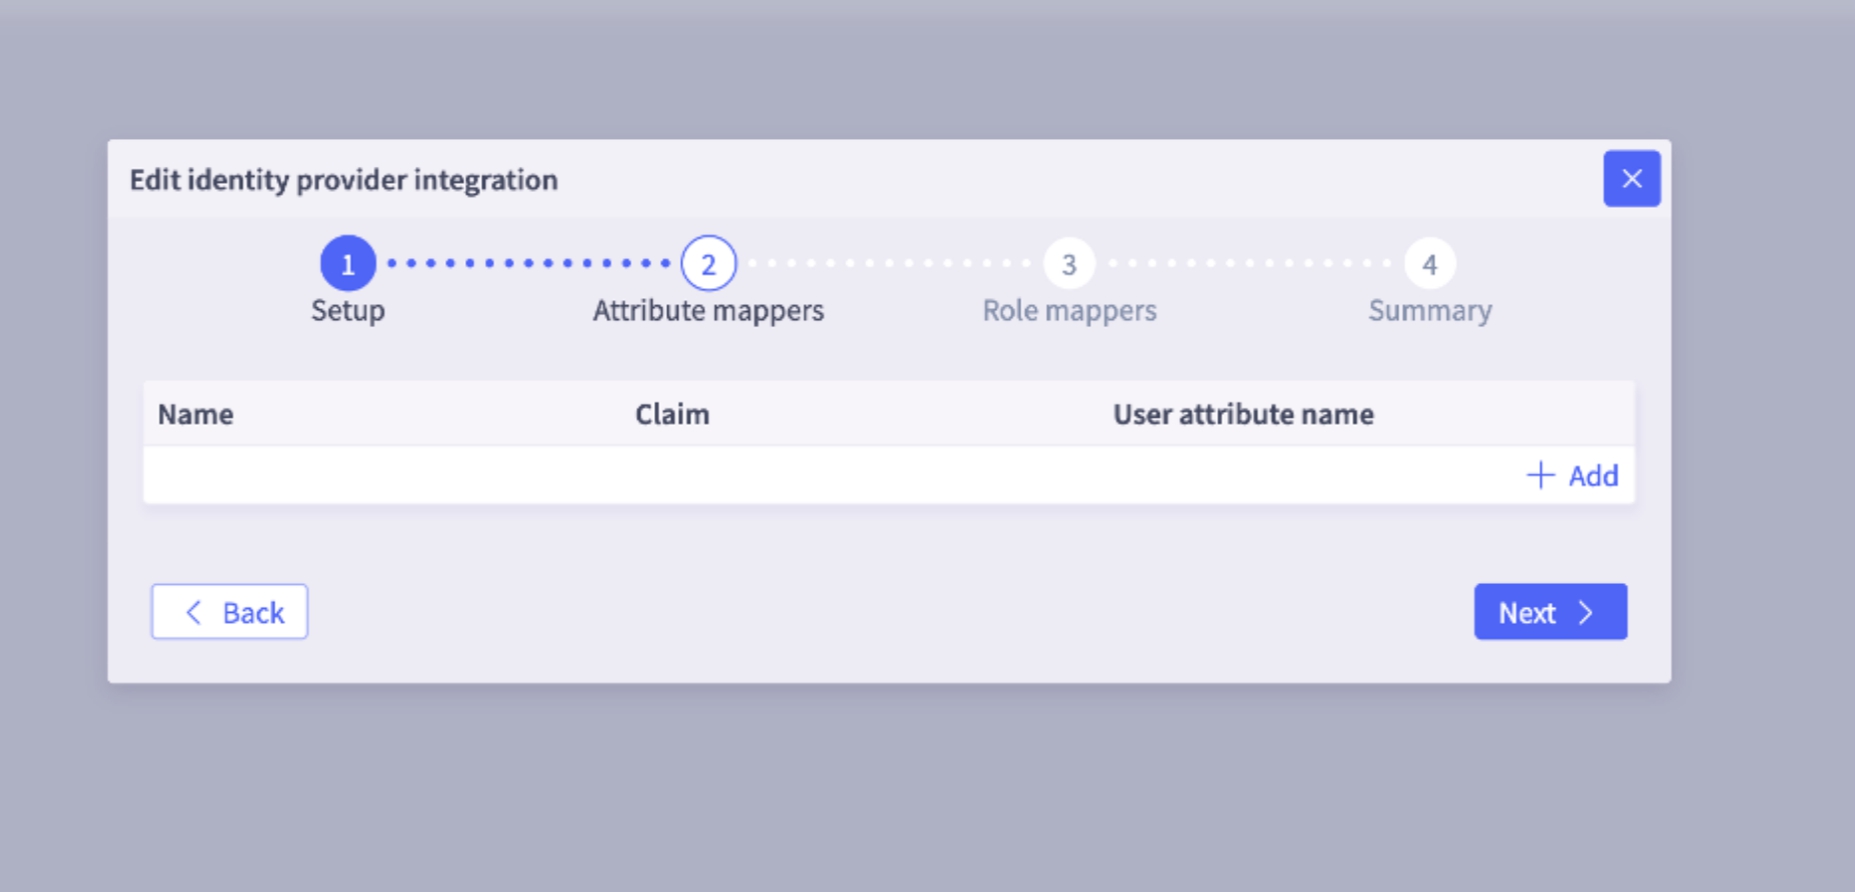
Selector maps first name, last name, email by default, so unless there is some custom mapping to be done, this screen can be skipped.
SSO Role Mapper
The Role Mappers window determines a user’s permissions in S2AP by mapping a user to a specific role in S2AP, based on group memberships in the IdP. For example, this could be the claims in the id_token.
To set up role mapping through SSO on S2AP, three things are needed:
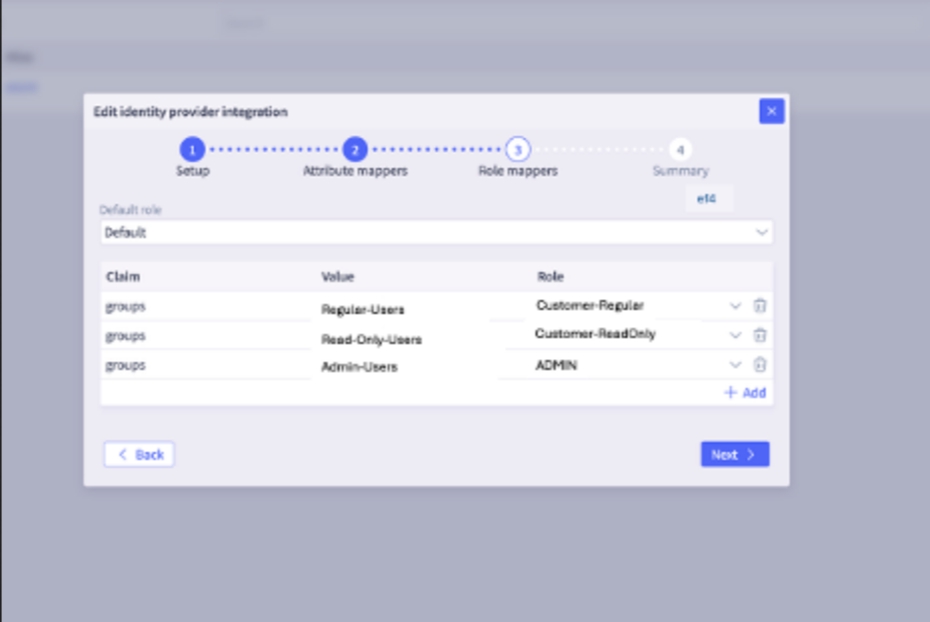
- Claim (key): The name of the attribute (claim name), that contains the membership data. Example: groups (that a user is a member of), roles (that a user is granted)
- Value (value) : The specific value of the claim. Example, group name or group id,
- S2AP Role**:** The permission level to grant the user for access to S2AP resources (Admin, Regular, Read Only, or Custom).
In addition, a Default Role can be set.
NOTE: Permissions are additive to the other role mappings that are specified, not a fallback. If a user belongs to multiple mapped groups, they receive the combined permissions of all those roles.
Example 1
Claim key: groups
Claim Value: okta_admin, okta_noc1, okta_noc2, okta_noc3
Mapping (Okta role to S2AP role):
- okta_admin => ADMIN
- okta_noc1 => REGULAR
- okta_noc2 => READONLY
- okta_noc3 => custom_role1
If the token includes groups such as okta_noc3, okta_noc2, and so on, then the user is mapped to the READONLY S2AP role custom_role1 and gets the superset of permissions.
Example 2
If the Default role is set to Regular in the S2AP Role mapper screen, then a user in the okta_noc2 group gets a super set of Readonly and Regular user permissions.
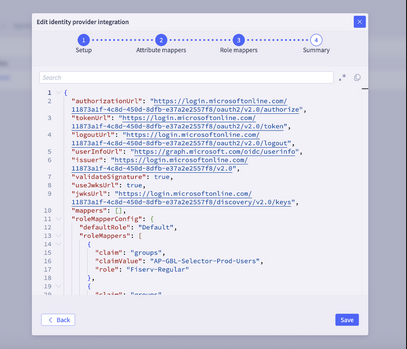
SSO Summary
The final window shows a Summary JSON listing of the entire SSO configuration. You should review it and then click Save or go back to make any necessary changes.
FAQs
My SSO is not working. I am unable to log into my S2AP with SSO
- Check if your IDP secret is still valid. If this secret has expired you will not be able to log in. Quick check you can do: if SSO is set up to another environment try logging into that, if you are able to, then it is likely a secret issue. Update the secret in the S2AP portal and you should be good to go -- an admin user should be able to do this. Or reach out to your Selector CS/SE representative to help.
I am able to log in via SSO but I am not getting the correct role assignments. There can be a few reasons for this:
- Did you have local account access prior to SSO? Selector persists the first login, so delete the local user account and login via SSO, the new SSO mapped role should kick in.
- If that doesn’t work, ensure that the SSO mapper is configured correctly.
- Claim Column should have the “Key” -- groups or roles are the typical keys
- If that is correct, make sure the Value is correct (as configured in your IDP). If that is missing, or incorrect, the mappings will not be correct.
What is the default role, how does it work?
The default role is meant to provide “default “ fallback that is assigned to any users that don’t match the Claim value criteria configured. It is additive to all other permissions. Example 1, if `user@john.doe’ is part of a group that is assigned Admin permissions, and a default role of Readonly is configured in the S2AP, they will get the superset permissions of admin and readonly. You should see something this in the Users page:

Example 2, if `user@john.doe’ is part of a group that is assigned custom_role_1 permissions, and a default role of custom_role_2 is configured in the S2AP, they will get the superset permissions of custom_role_1 and custom_role_2.
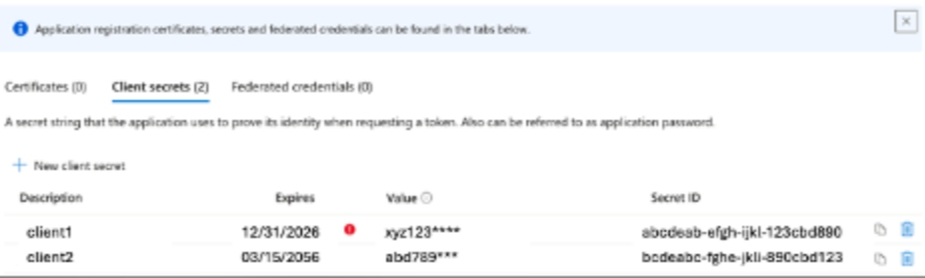
Should I use the Value field or the Secret ID field value of the Microsoft Entra Secrets page?
- Microsoft Entra displays two different IDs on the Secrets page. For the Selector SSO configuration, you must provide the secret Value. A common error is providing the Secret ID (the UUID); if your value looks like a standard 36-character GUID, it is likely the wrong field. Please make sure you copy the Value column before leaving the page.